
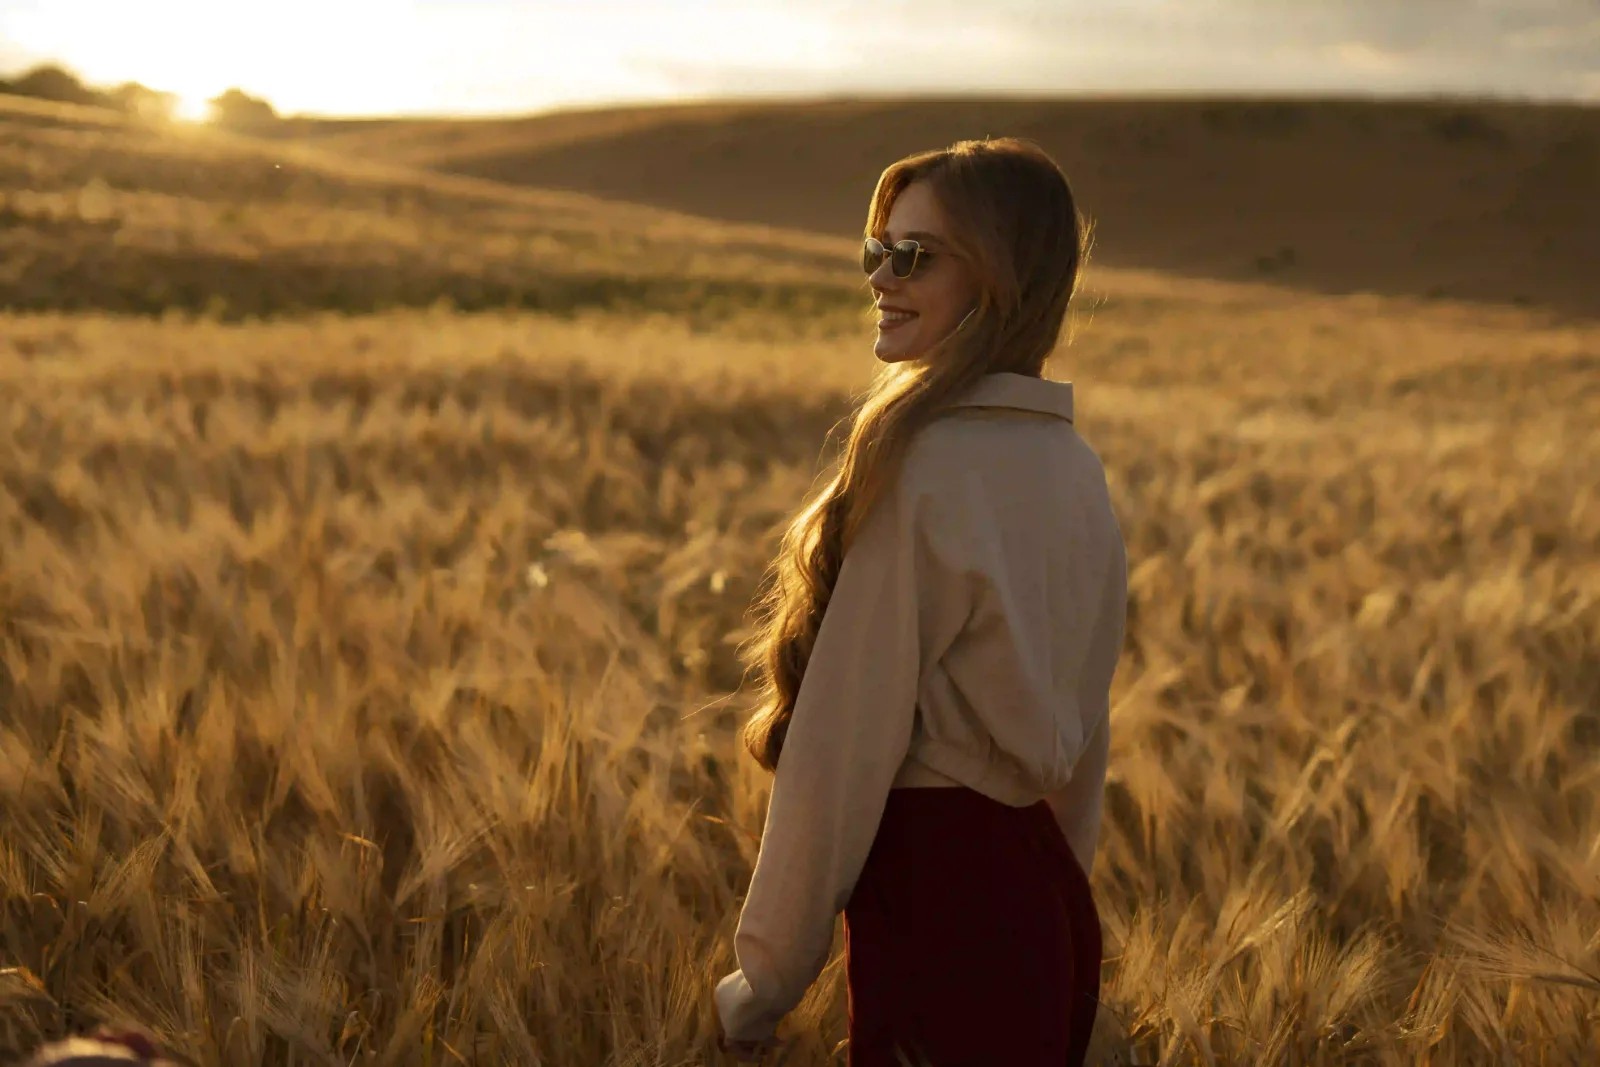
Golden Hour Photography: The Ultimate Beginner Guide
Soft, warm light can make even a simple scene look magical. This golden hour photography guide shows you when to shoot, how to set your camera, and how to make the most of that glow.
What Is Golden Hour?
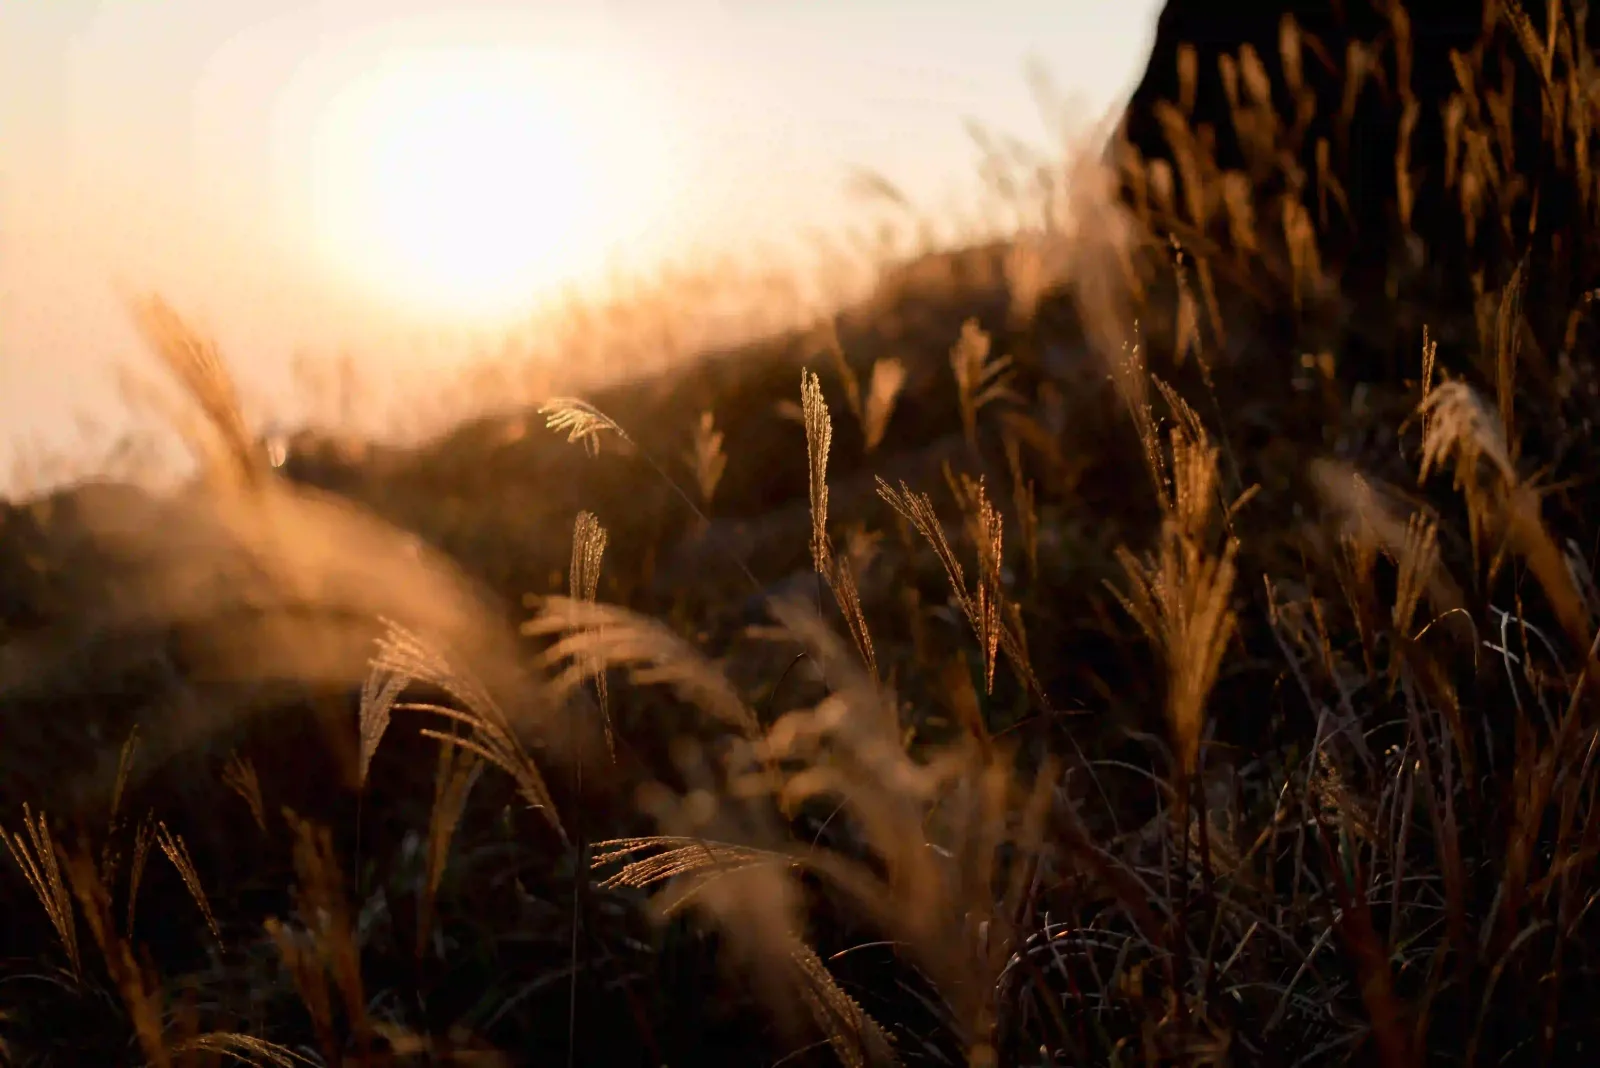
Golden hour is the short window just after sunrise and just before sunset. The sun sits low in the sky, so its light passes through more atmosphere and turns warm and gentle.
- Light is soft, so shadows are gentle instead of harsh
- Colors shift toward gold, orange, and pink
- Long shadows add depth and texture
- Skin looks warm and flattering in portraits
When Does Golden Hour Happen?
It’s often described as an hour, but the real length depends on where you are and the time of year. Near the equator it can be brief, while farther north or south the glow can last much longer.
Use a weather or sun-tracking app to see exact times for your location. Plan to arrive 20 to 30 minutes early so you’re ready when the light turns.
Right after sunset comes blue hour, when the sky turns deep blue. Stay a little longer and you get two shoots in one trip.
Best Camera Settings for Golden Hour Photography
Start here and adjust as the light fades.
| White balance | Daylight or Cloudy keeps the warm tones, while Auto can neutralize them |
| Aperture | f/1.8 to f/4 for portraits, f/8 to f/11 for landscapes |
| ISO | as low as possible, raising it as the light drops |
| File format | RAW, to protect detail in the bright sky |
| Metering | expose for the highlights so the sky doesn’t blow out |
Light changes fast at this time of day. Check your exposure every few minutes.
5 Golden Hour Techniques to Try
Shoot Into the Sun for Backlight
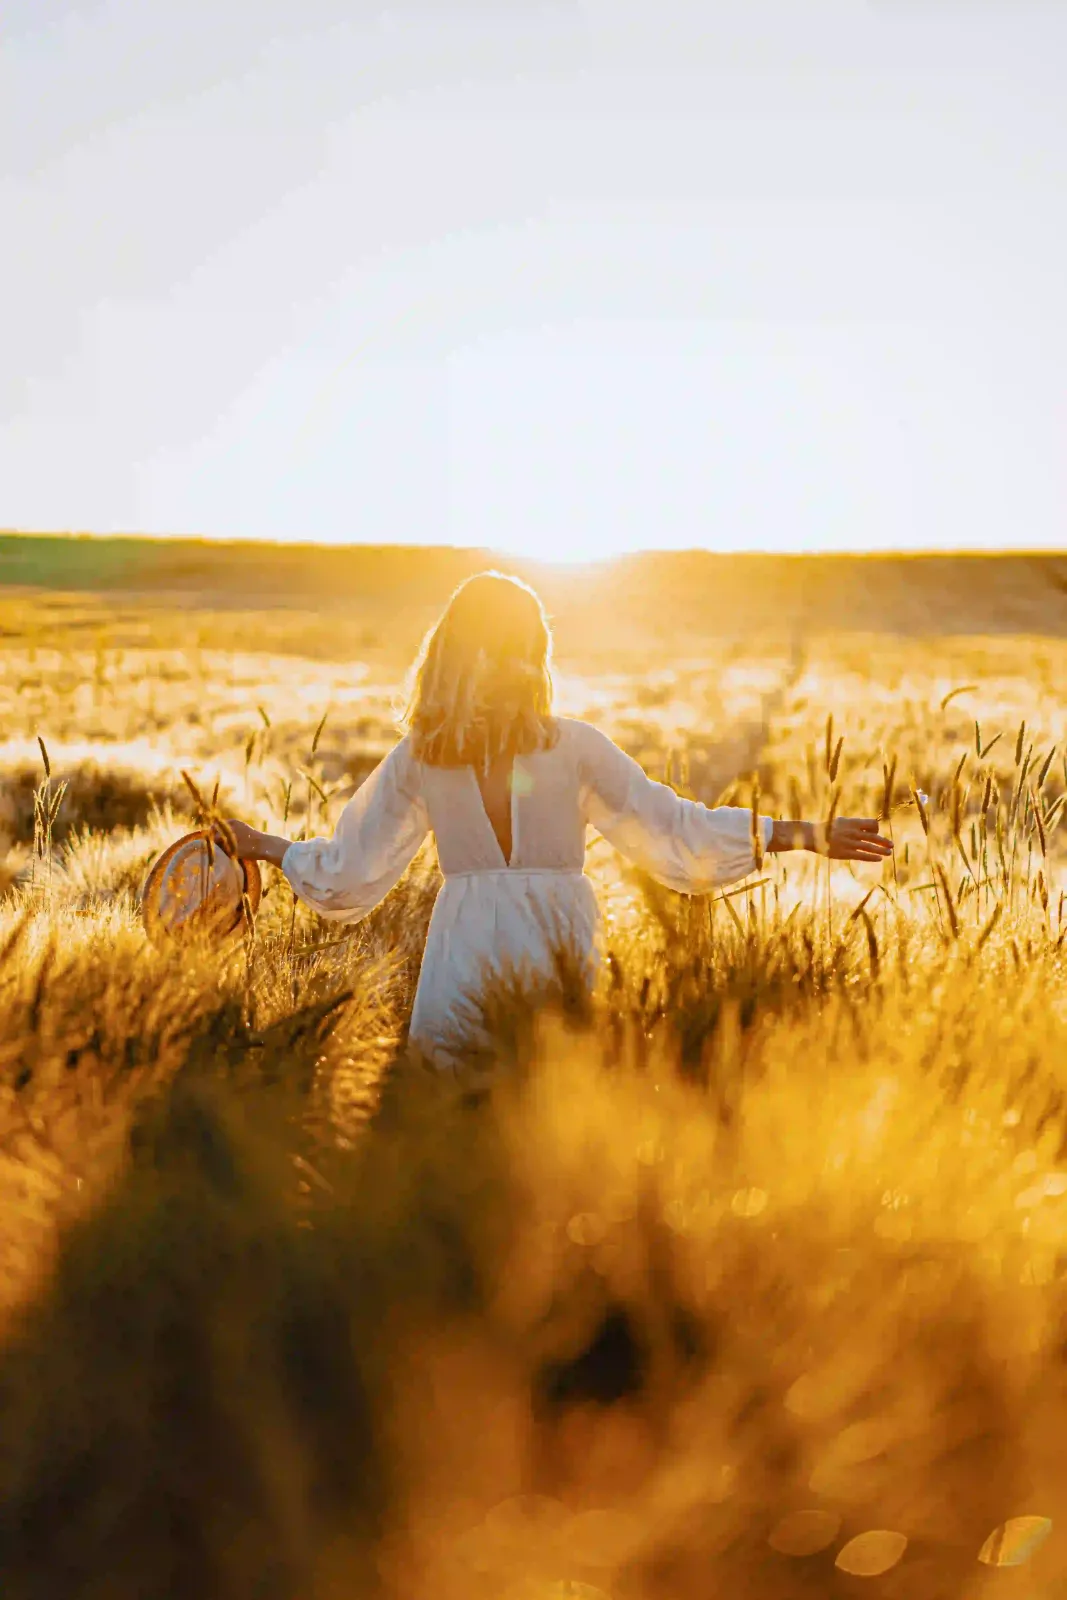
Place the sun behind your subject for a glowing rim of light around hair and edges. Partly block the sun with your subject to control flare.
Use Side Light for Texture
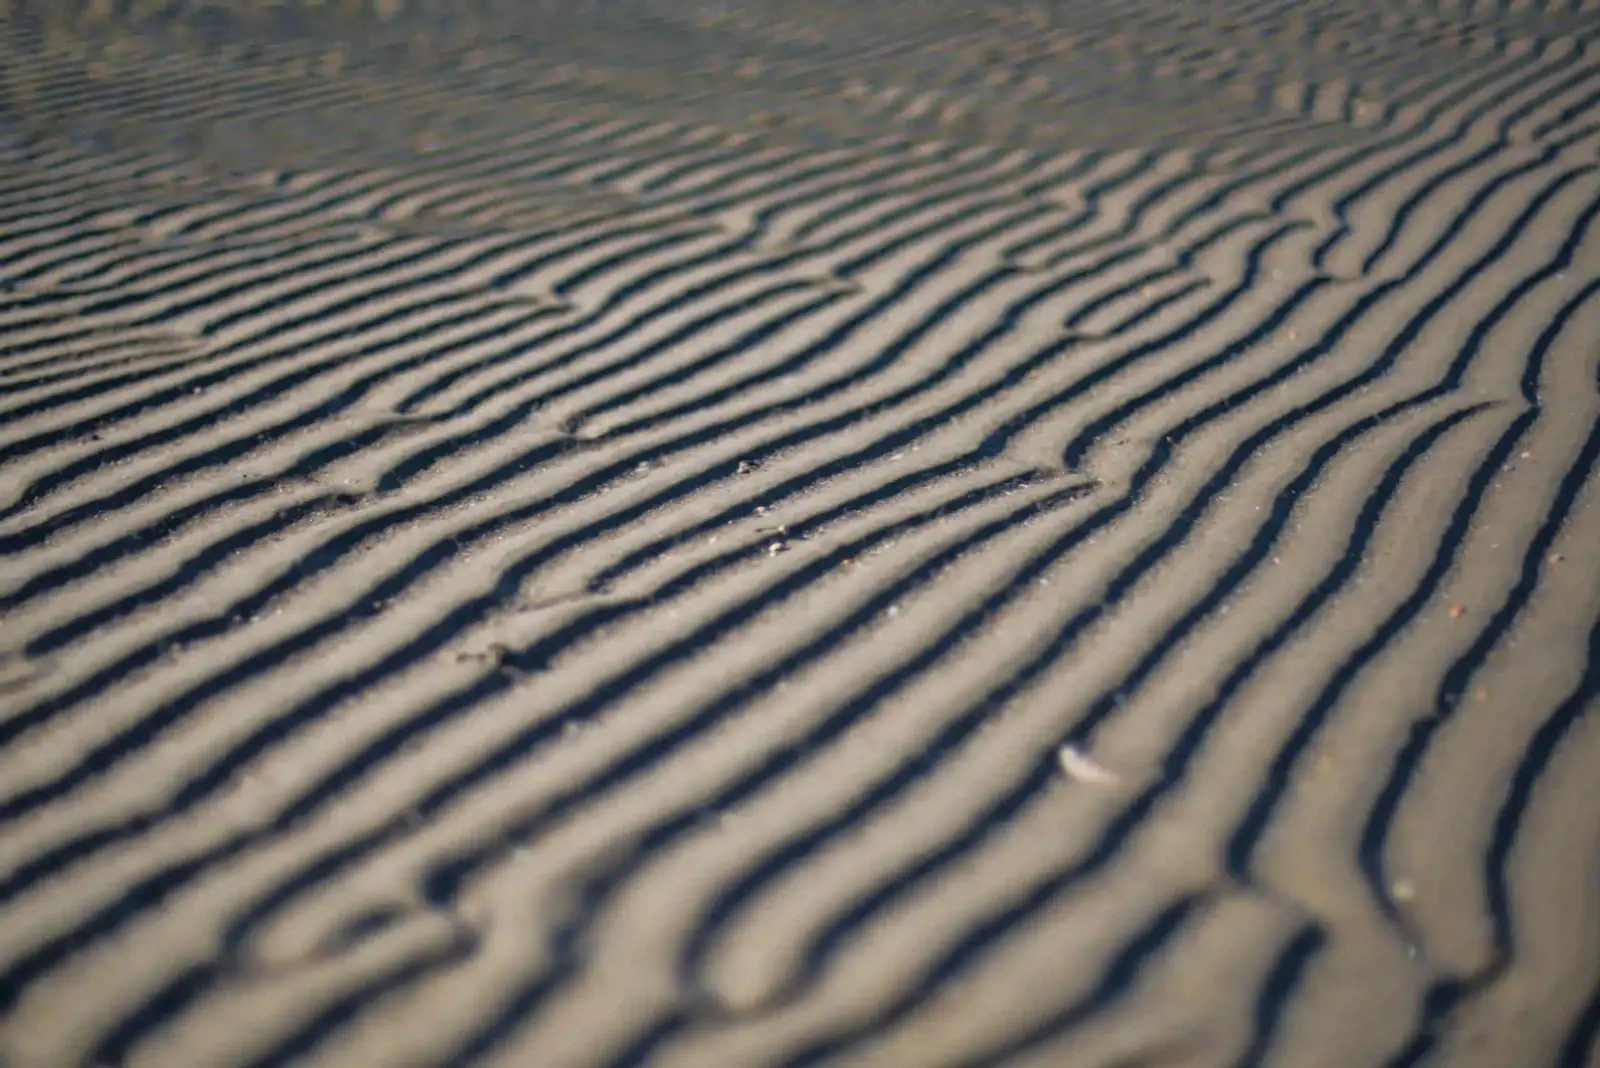
With the sun to one side, every bump and ripple casts a shadow. This works beautifully on sand, bark, and faces.
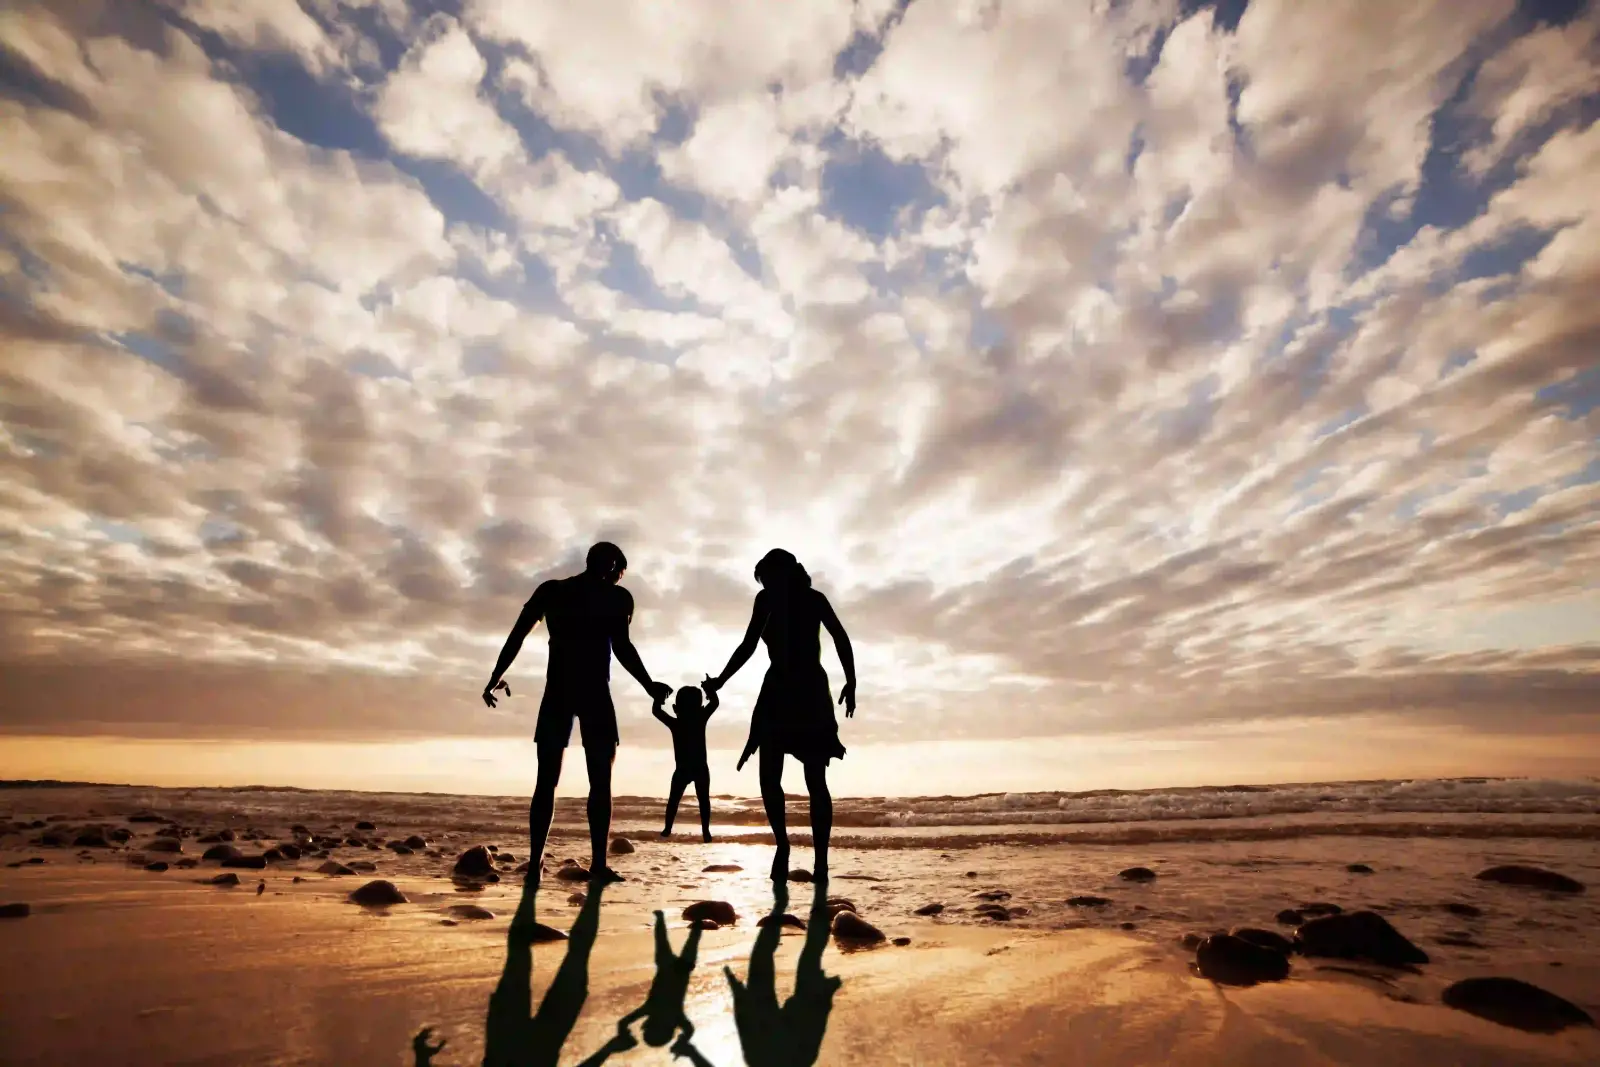
Capture Silhouettes
Expose for the bright sky and let your subject fall into darkness. Clear, simple shapes read best.
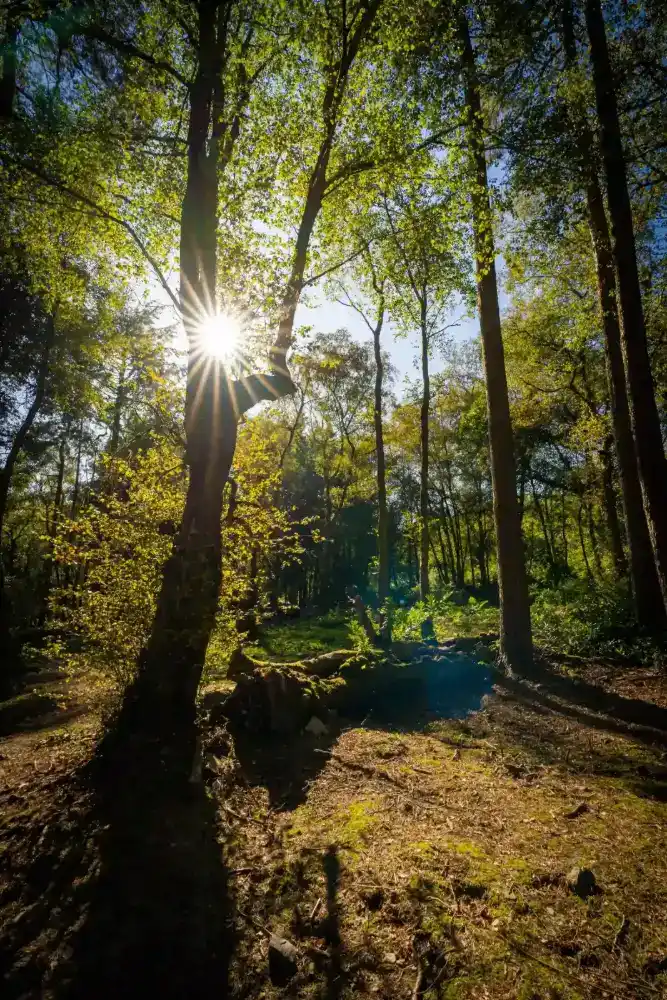
Embrace Lens Flare
A little flare adds warmth and atmosphere. Stop down to around f/16 to turn the sun into a starburst.
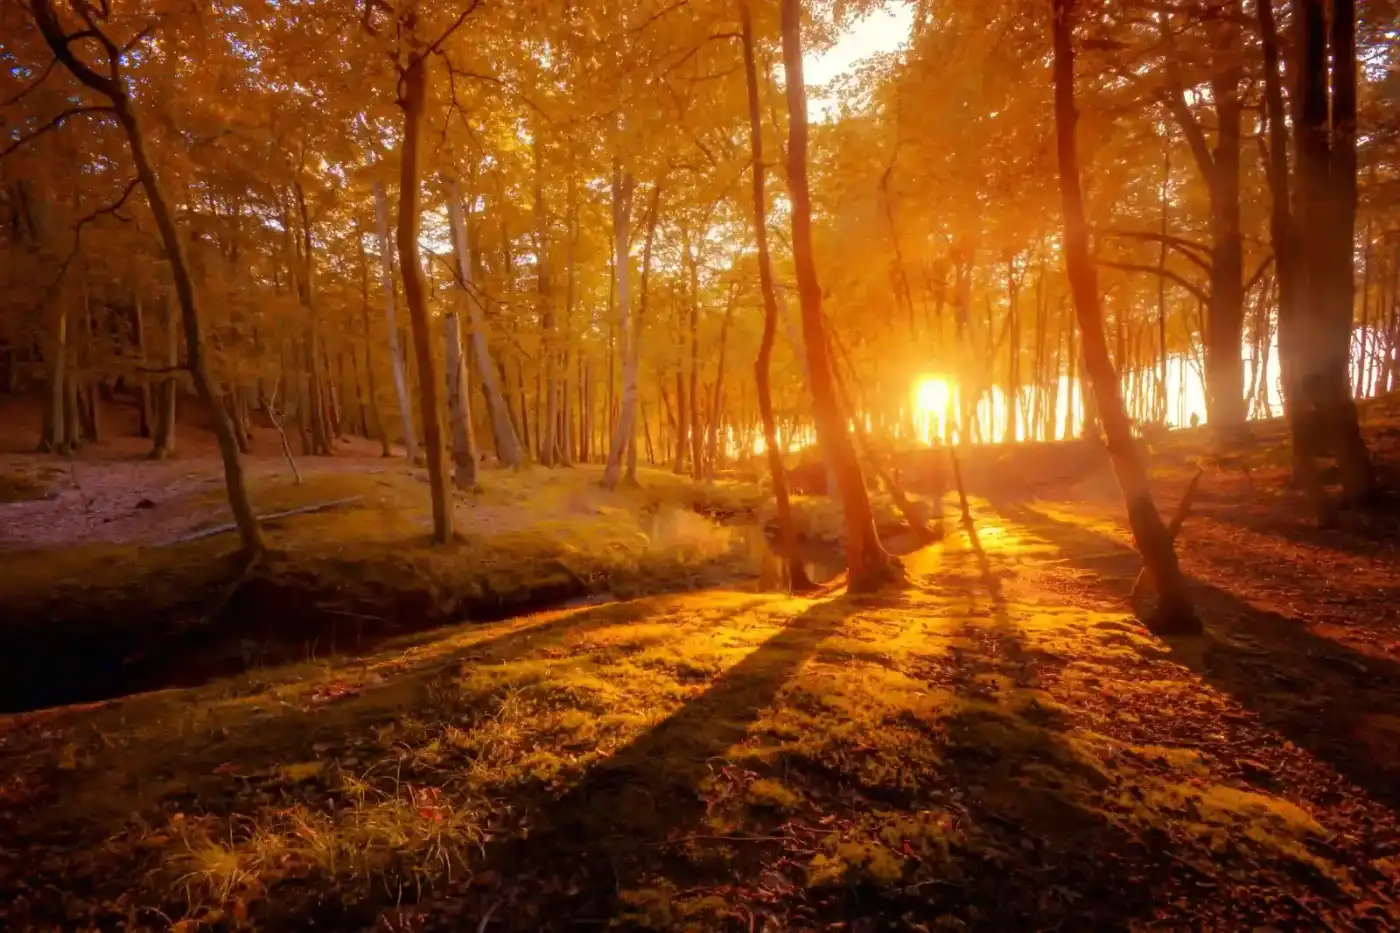
Use Long Shadows in Your Composition
Shadows stretch across the ground at this hour. Use them as leading lines that guide your viewer through the frame.
How to Plan a Golden Hour Shoot in 3 Steps
Step 1: Check the Time and Direction
Find the exact sunrise or sunset time and the direction the sun will be. This tells you where your light will fall.
Step 2: Scout Your Spot Early
Get there before the light peaks so you can test angles. Rushing usually means missing the best moments.
Step 3: Keep Shooting as the Light Changes
The color shifts minute by minute, from gold to orange to pink. Keep shooting until the sun is gone, then stay for blue hour.
Golden Hour Questions Answered
Quick answers to the questions beginners ask most.
Can I Do Golden Hour Photography With a Phone?
Yes. Tap to focus, then lower the exposure slightly to keep the warm sky from washing out.
Is Morning or Evening Golden Hour Better?
Both look great. Mornings are usually quieter with fewer crowds, while evenings are easier to fit around a busy day.
What if It’s Cloudy?
Thin or broken clouds often make sunsets more colorful. A completely overcast sky, though, can block the warm light entirely.
Why Do My Golden Hour Photos Look Too Orange?
Your white balance may be pushing the warmth too far. Adjust it in editing until the colors feel natural.
Do I Need a Tripod?
For portraits in good light, usually not. Once the sun drops, a tripod helps you keep shots sharp at slower shutter speeds.
What Subjects Work Best?
Portraits, landscapes, city streets, and nature details all shine. Anything with texture or shape benefits from low, warm light.
Catch the Glow on Your Next Sunset
Check tonight’s sunset time and give golden hour photography a try. A little planning turns that short window into your best photos yet.